Volkswagen Polo Service & Repair Manual: Wiring Eyelets, Repairing
| Special tools and workshop equipment
required |
| Torque Wrench 1331 5-50Nm -VAG1331- |
 Note Note
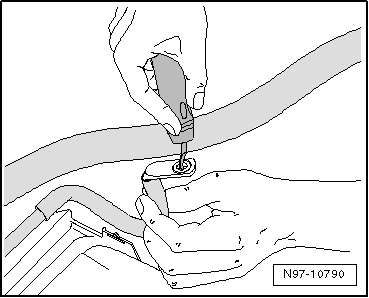
| Do not use rust remover, contact spray or grease because the
lack of friction will cause the torque to be exceeded when
installing and this will lead to the threaded connection
breaking. |
| The gray sanding pads are for slight contamination and
suitable for "soft surfaces". The red sanding pads are for heavy
contamination and suitable for "hard surfaces". |
 WARNING
| Risk of injury. Follow all Warnings and Safety
Precautions. Refer to
→ Chapter „Warnings and Safety Precautions“. |
|
|
|
|
| – |
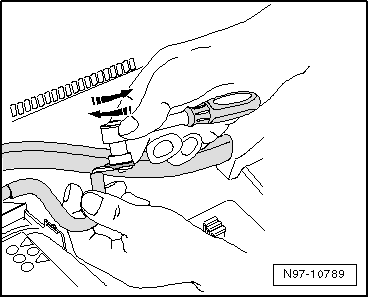
Insert the adapter in the wiring eyelet and sand off the
corrosion and contamination with circular motions. |
| – |
Check the wiring eyelet and sand it again if necessary. |
|
|
|
Special tools and workshop equipment
required
Torque Wrench 1331 5-50Nm -VAG1331-
Note
Do not use r ...
Other materials:
Taper
Taper is caused by slightly offsetting the tread and/or the
belt by a few tenths of a millimeter from the geometric center
of the tire. Taper cannot be recognized visually nor can it be
measured with workshop equipment.
...
Using a child seat on the front passenger seat
Fig. 63 On the sun visor on the passenger
side: airbag sticker
First read and observe the introductory information
and safety warnings
Not all countries allow you to transport children on the front passenger seat.
Not every child seat is suitable for use on the front passenger seat. Volkswa ...
Brake fluid
Fig. 117 In the engine compartment: cap
on the brake fluid container
First read and observe the introductory information
and safety warnings Brake fluid will gradually absorb water
from the surrounding air. The brake system will be damaged if there is too much
water in the brake fluid. T ...
© 2016-2026 Copyright www.vwpolo.net

 Caution
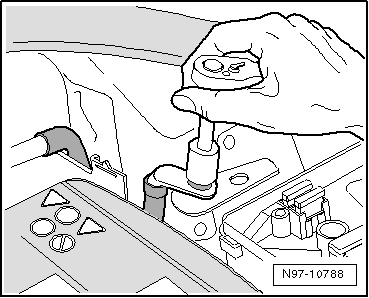

 Threaded Connections, Repairing