Volkswagen Polo Service & Repair Manual: Two-Part Filler
| Two-Part Filler -LLS MAX 202 M2-, medium gray |
| The Two-Part Filler -LLS MAX 202 M2-, (medium gray) is a
high-quality two-part HS sanding filler. The raw material base
is acrylic resin. |
| Constant atomizing pressure |
| Optimal and stable processing properties |
| Great stability under load |
| Excellent high-build characteristics |
| Application area: clever repair |
| Professional painting result |
 Note Note
| For work safety, wear appropriate, personal protective
equipment. |
| Sheet steel that has been cleaned, sanded and primed with
Two-Part Wash Primer -LHV 043 000 A2- or One-Part Wash Primer -LVM
044 007 A2-/-LVM 044 171 A2-, galvanized/electrolytically zinced
sheet steel or soft aluminum. |
| Finely sanded, thoroughly cleaned, original factory primer. |
| Sanded factory paint or old paint (except TPA). |
| Surfaces prepared with two-part polyester products and then
sanded very fine. |
| Cleaned and sanded UP-GF base surfaces, free of separating
agents. |
|
|
|
| Pre-treatment of base surfaces: |
| – |
Carefully clean using Silicone Remover -LVM 020 000 A5- or
Silicone Remover, Long -LVM 020 100 A5-. |
|
|
|
| – |
Sand the factory- or old paint. |
| – |
Thoroughly remove any potential rust spots and sand any
transitions to old paint. |
|
|
|
| – |
Use a suitable cleaning agent before reworking to ensure a
clean and residue-free surface. |
|
|

|
| Activating the Two-Part Spray Can: |
|
|
|
| – |
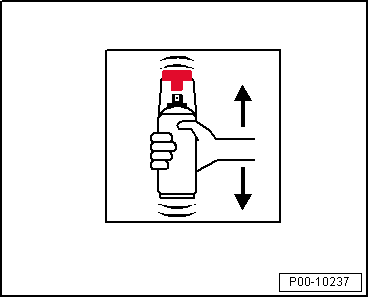
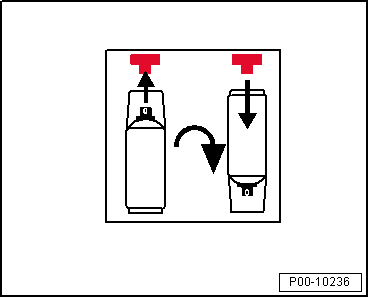
Remove the red push button on the cap and set it on the
valve for the hardener mixture on the bottom of the can. |
|
|
|
| – |
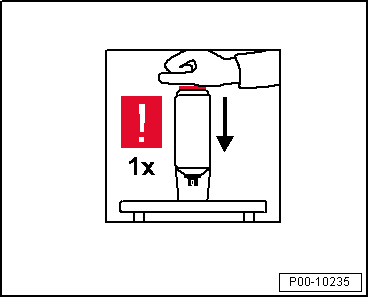
Press in the valve for the hardener mixture. Make sure when
pressing down the valve for the hardener mixture that the can is
upside down. |
|
|
|
| – |
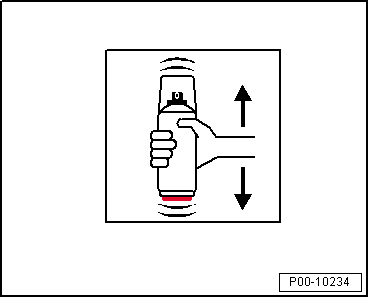
Shake the can thoroughly for two minutes. |
|
|
|
| Processing time/pot life: |
| – |
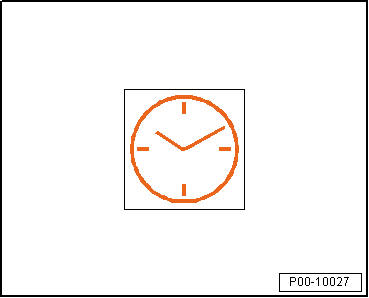
Eight hours at +20 °C (68 °F) |
|
|
|
| – |
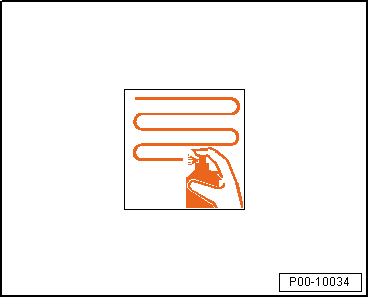
Apply two to three spray applications to cover with a 5 to
10 minute intermediate ventilation time. |
| – |
Maintain a distance of 20 to 25 cm. |
| – |
The recommended dry layer thickness is approximately 80 to
120 µm. |
 Note Note
| If the spraying procedure is interrupted, make sure that the
valve above the spray head is empty to prevent any nozzle
blockage. |
|
|
|
| Air drying at +20 °C (68 °F) room temperature is: |
| Three to four hours for a dry layer thickness of 80 to 120
µm. |
|
|

|
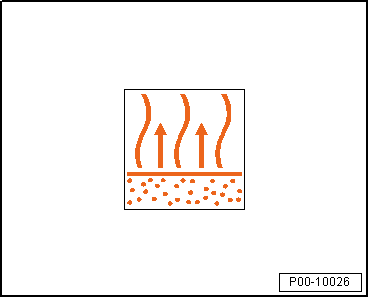
| The drying time with forced drying is at least 5 to 15
minutes. |
| Forced drying at +60 °C (140 °F) object temperature is 30 to
40 minutes for a layer thickness of 80 to 120 µm. |
|
|

|
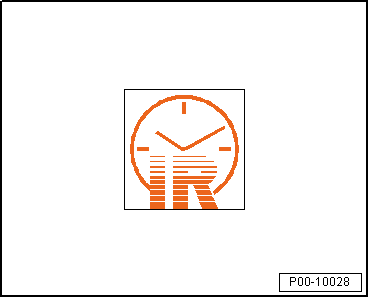
| The drying time for IR drying is a minimum of 5 to 10
minutes. |
|
|
|
| IR drying for a layer thickness of 80 to 120 µm is 10
minutes with a short-wave heater and 15 minutes with a
medium-wave heater. |
|
|
|
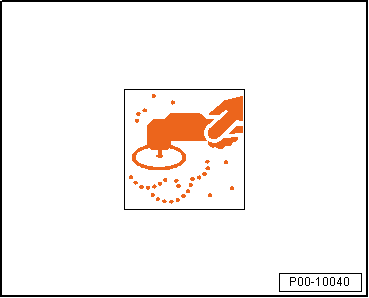
| – |
Dry-sand with rotary sander and dust extraction. P400-500
grit sandpaper. |
|
|
|
| – |
Wet-sand with P800-1000 grit sandpaper |
|
|
|
| VOC value: 2004/42/IIB(e)(840)690 |
The EU limit for this product
(product category IIB.b) in ready-to-use form is a maximum of 840 g/L
volatile organic compounds. The VOC-value of this product in
ready-to-use form is a maximum of 690 g/L. |
| The guaranteed shelf life of 36 months from date of
manufacture. Use no later than the date indicated on the label
and store in original container at +20 °C (68 °F). |
|
|
|
One-Part Clean Spray Can -LLS MAX 112-, 400 ml for
Water-Based Mixed Paint “Aqua Premium System”
Edition 05/2014
Product D ...
Definition:
Two-Part Clear Coat -LLS MAX 210-
Edition 12/2010
Product Description
...
Other materials:
Refrigerant in A/C Service station Container, Filling
Caution
If it is suspected that chemicals were added to the
refrigerant circuit to seal leaks, do not connect the
A/C service station and do not extract the refrigerant.
...
Infrared Dryer -VAS6878
Definition:
Infrared Dryer -VAS6878-
Product Description:
The infrared dryer is used to dry paste, filler, base paint,
top coats and clear coats on vertical and horizontal surfaces.
...
General Information
Perform a road test to determine if a vehicle pulls to one
side and if so, when and to which side. If the vehicle pulls to
one side. Refer to
→ Chapter „Corrective Action When Vehicle Pulls to One Side“.
If the vehicle ali ...
© 2016-2026 Copyright www.vwpolo.net

 Note
Note Note
Note Note
Note One-Part Clean Spray Can -LLS MAX 112-, Aqua Premium System
 Two-Part Clear Coat


 Caution
 WARNING