Volkswagen Polo Service & Repair Manual: Two-Part HS Performance Clear Coat
| Two-Part HS Performance Clear Coat -LZK 769 K06 A5- |
| The two-part HS performance clear coat is a high-gloss, VOC
compliant high solid clear coat. |
| Can be used in a number of ways for all areas of repair |
| Flexible application in 1.5 spray applications (preferred),
or possible in two spray applications |
| Suitable preliminary coatings: |
|
|
|
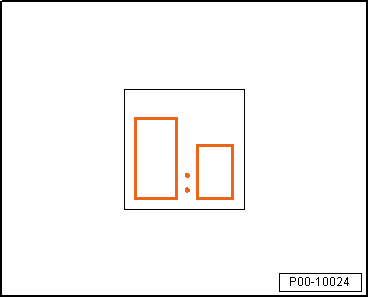
| Two-Part VHS Hardener -LHA 009 051 A2-/-LVM 009 051 A5- |
| Two-Part VHS Hardener, Short -LHA 009 050 A2- |
| Two-Part VHS Hardener, Long -LHA 009 052 A2-/-LHA 009 052
A3- |
| Two-Part VHS Hardener, Extra Long -LHA 009 053 A2- |
| The choice of hardener depends on the temperature and the
size of the surface. See technical application information
two-part VHS hardener. Refer to
→ Chapter „Two-Part VHS Hardener and Two-Part VHS Performance
Hardener“. |
| For elastification
→ Anchor. |
| Clear Coat Additive -LVM 007 000 A2- |
| HS Spot Thinner -LVM 006 000 A2- |
| See the HS spot thinner technical application information.
Refer to
→ Chapter „HS Spot Thinner“. |
|
|
|
| Processing time/pot life: |
| – |
Ready to spray in 60 to 120 minutes at +20 °C (68 °F) |
|
|
|
| – |
Processing viscosity 4 mm for +20 °C (68 °F), German
Industry Standardization 53211 |
| Processing viscosity 4 mm gravity feed spraygun “Compliant”
and “HVLP” is the mixed viscosity. |
|
|
|
| Adding 5 % Clear Coat Additive -LVM 007 000 A2- at +20 °C
(68 °F) material temperature |
 Note Note
| When using as a clear coat for minimal damage repairs
(clever repair procedure), 5 % Clear Coat Additive -LVM 007 000
A2- can be replaced with 5 % HS Spot Thinner -LVM 006 000 A2-. |
| The mixture for the clever repair procedure described above
should not be used on reclined surfaces. |
| – |
Use a measuring stick to mix when pouring in the thinner. |
|
|
|
| – |
Set spray nozzle (see manufacturer's information):
“Compliant” 1.3 to 1.4 mm. |
| – |
Set spray nozzle (see manufacturer's information): “HVLP”
1.3 to 1.4 mm. |
| – |
Set spray pressure (see manufacturer's information):
“Compliant” to 2.0 to 2.5 bar. |
| – |
Set atomizing pressure (see manufacturer's information):
“HVLP” 0.7 bar. |
|
|

|
| Apply 1.5 spray applications. The first half spray
application should form a thin, nearly complete film upon which
a fully-completed spray application can be applied. |
| Can be applied in two spray applications with a 5 to 10
minute intermediate ventilation time. The first spray
application is applied lightly, but completely. |
| – |
The recommended dry layer thickness is between 50 and 70 µm. |
|
|
|
| Air dry at between +18 and 22 °C (64.4° and 71.6 °F) room
temperature: |
|
|
|
| Final drying time with forced drying is a minimum of 5 to 10
minutes. |
|
|
|
| Forced drying is at between +60 and 65 °C (140° and 149 °F)
for 25 to 35 minutes. |
|
|

|
| Final drying time for IR drying is a minimum of 5 to 10
minutes. |
|
|

|
| IR dry with short-wave heater for 10 to 15 minutes |
|
|
|
| Elastification for rigid and semi-rigid plastics: |
| The base material must first be mixed with 15 % Elastic
Additive -ALZ 011 001-. |
| Mixture with two-part VHS hardeners, 3:1 with 5 % Clear Coat
Additive -LVM 007 000 A2- (drying period is lengthened). |
|
|

|
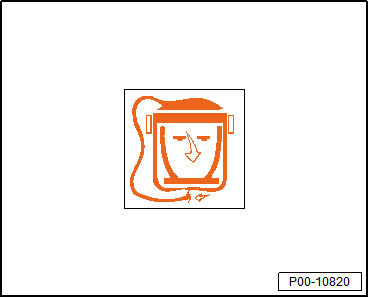
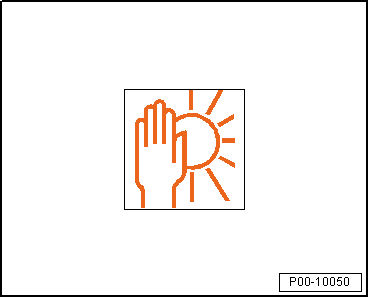
| Personal Protective Equipment: |
| Note the safety data sheets |
| Wear the personal protective equipment during application |
|
|
|
| Flashpoint: |
above +23 °C (73.4 °F) |
| VOC value: 2004/42/IIB(d)(420)420 |
The EU limit for this product
(product category IIB.b) in ready-to-use form is a maximum of 420 g/L
volatile organic compounds. The VOC-value of this product in
ready-to-use form is a maximum of 420 g/L. |
| The guaranteed shelf life is: |
| 48 months from date of manufacture for Two-Part HS Brilliant
Plus Clear Coat -LZK 769 K05 A5-. |
| 24 months from date of manufacture for Clear Coat Additive -LVM
007 000 A2-. |
| Use no later than the date indicated on the label and store
in original container at +20 °C (68 °F). |
|
|
|
Definition:
Two-Part HS Brilliant Plus Clear Coat -LZK 769 K05 A5-
Edition 02/2012
Product Description
...
Definition:
Blender -LVE 013 100 A2-
Edition 10/2012
Product Description
Blender ...
Other materials:
Synchronising the vehicle key
First read and observe the introductory information
and safety warnings
It may no longer be possible to lock or unlock the vehicle with the remote control
if the button is pressed
repeatedly outside of the effective range of the vehicle key. If this is the case,
the vehicle key ...
Introduction
This chapter contains information on the following subjects:
→ Warning lamp
→ Childproof lock
Additional information and warnings:
Exterior views
Vehicle key set
Central locking system
Manual opening and closing
WARNING
Any door that is not properly ...
Notes on towing
First read and observe the introductory
information and safety warnings
Tow rope or tow bar
It is easier and safer to tow a vehicle with a tow bar. Only use a tow rope
if you do not have a tow bar.
The tow rope should be slightly elastic to reduce the strain on both
vehicles. It is advisab ...
© 2016-2025 Copyright www.vwpolo.net

 Note
Note Two-Part HS Brilliant Plus Clear Coat
 Blender


