Volkswagen Polo Service & Repair Manual: Paint System for Plastic Parts
| This universal painting system enables you to safely and
simply paint all plastic parts which can be usually found on the
exterior. (Plastic types: PP, EPDM, ABS, PC, PPO, PBTP, UP-GF,
PA, PVC, R-TPU, PUR) This technical reference material does not
apply to factory primed plastic parts. |
| Pretreatment of base surfaces: |
|
|
|
| – |
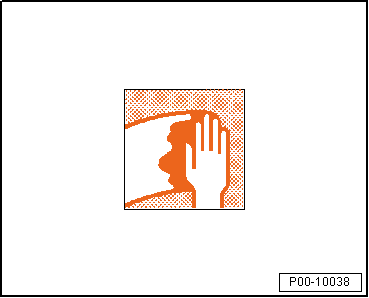
The base surface must be free of separating agents. Before
cleaning the plastic parts, temper them for 60 minutes at +60 ℃
to sweat out the separating agents. |
| – |
Clean with the Antistatic Plastic Cleaner -LKR 001 001 A3-
or a milder Silicone Remover, Long -LSE 20 100 A3-. |
| The effort needed for cleaning depends on the type and
quantity of the separating agent used. It is recommend to use a
sanding pad to support the cleaning process. Let the thinner
evaporate (for example, air-drying overnight at room temperature
or 30-40 minutes at +60 ℃). |
|
|
|
| – |
Before priming, lightly clean again using Antistatic Plastic
Cleaner -LKR 001 001 A3- or Silicone Remover, Long -LSE 20 100
A3-. |
| The Paint Structure is not for Primed Plastic Parts. |
| To attain secure adhesion, plastics must be primed after
they have been thoroughly cleaned. Here the user has two
choices: |
| 1. - |
Prime with Two-Part Synthetic Adhesion Filler, White - LKF
696 009- or Two-Part Synthetic Adhesion Filler, Black - LKF 696
040-. The Two-Part Synthetic Adhesion Filler, White -LKF 696
009- and the Two-Part Synthetic Adhesion Filler, Black -LKF 696
040- are primer/fillers which can be directly painted over with
top coat. |
| 2. - |
Prime with Glazing Adhesion Promoter - ALO 822 000 10- and
rework with elastified Two-part HS filler. Further processing
with top coat and clear coat. |
| – |
Small scratches can be filled after priming with Two-Part
Fine Filling Paste -LSP 784 002 A2-. |
| – |
After sanding the filled patches insulate them: |
| 1. - |
With Two-Part Synthetic Adhesion Filler, White - LKF 696
009- or Two-Part Synthetic Adhesion Filler, Black - LKF 696
040-. |
| 2. - |
Prime with Glazing Adhesion Promoter - ALO 822 000 10- and
rework with elastified Two-part HS. Further processing with top
coat and clear coat. |
| For the application instructions, evaporating and drying
times refer to the respective technical application information. |
| → Chapter „Two-Part Synthetic Adhesion Filler“. |
| → Chapter „Adhesion Promoter (Glazing)“. |
| The Addition of Two-Part Elastic Additive -ALZ 011 001- in
Two-part HS Filler. |
| 15 % for rigid and semi-rigid plastics |
| 30 % for highly flexible plastics. |
| For the application refer to the technical application
information of the respective filler. Refer to
→ Chapter „Filler“. |
 Note Note
| Painted plastic parts may not be cleaned with a
high-pressure cleaner before 6 weeks have passed. The minimum
distance between the nozzle and the object is 30 cm. |
|
|

|
| – |
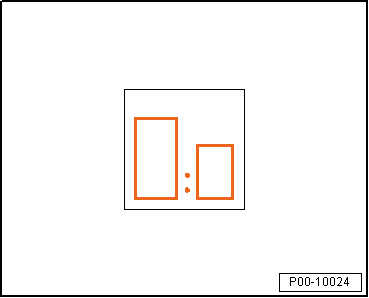
Mix two-part HS top coat with 15 % Two-Part Elastic Additive
-ALZ 011 001- then combine this mixture. |
|
|
|
| – |
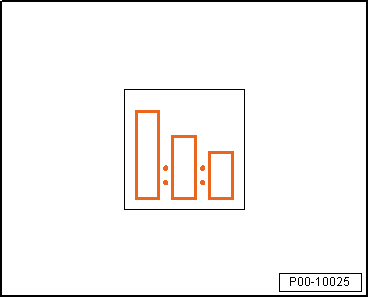
Mixture ratio 3:1 with two-part VHS hardener and 15 %
Two-Part Thinner, Special -LVM 009 200 A2-. |
|
|
|
| – |
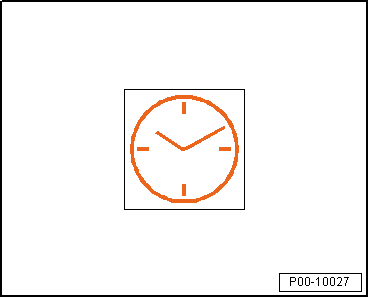
Let air dry overnight at +20 °C (68°F)or after 5 to 10
minute final drying time, 30 to 40 minutes at +60 °C (140°F).
When using Two-Part Elastic Additive -ALZ 011 001- use longer
drying times. |
| Two-Coat Painting Solid, Metallic, Pearls |
|
|
|
| – |
Water-based base paint with 10 % Purified Water -LVW 010 000
A5-. |
|
|

|
| – |
Mix the two-part HS clear coat with Two-Part Elastic
Additive -ALZ 011 001-. |
|
|

|
| – |
According to the respective technical application
instructions of the clear coat. Refer to
→ Chapter „Clear Coats“. |
|
|
|
| – |
Let air dry overnight at +20 °C (68°F) or after 10 minute
final drying time, 40 to 45 minutes at +60 °C (140 °F). When
using Two-Part Elastic Additive -ALZ 011 001- use longer drying
times. |
| Painting with Satin Finish Paint Shades |
| One-Coat Painting, Top Coat: |
|
|

|
| – |
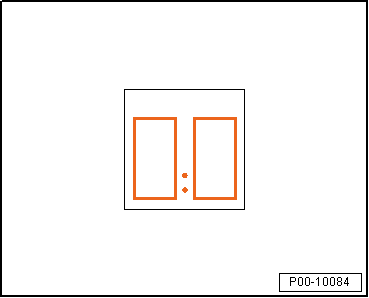
Mix two-part top coat in a 1:1 ratio with Two-Part Matting
Component -ALN 775 106- then combine this mixture. |
|
|
|
| – |
Mixture ratio 4:1 with two-part VHS hardener and 15 %
Two-Part Thinner, Special -LVM 009 200 A2-. |
|
|

|
| – |
Apply with two spray applications with 5 to 10 minutes'
intermediate drying time for an even paint film surface. |
|
|

|
| – |
Let air dry overnight at +20 °C (68°F) or after 5 to 10
minutes final drying time 30 to 40 minutes at +60 °C (140 °F). |
| Painting in Color Shades with Texture |
| One-Coat Painting, Top Coat: |
|
|

|
| – |
Mix two-part HS top coat in a 1:1 ration with Structuring
Component, Rough/Fine -ALN 775 107/108- then combine this
mixture. |
|
|

|
| – |
Mixture ratio 4:1 with two-part VHS hardener and 15 %
Two-Part Thinner, Special -LVM 009 200 A2-. |
| – |
Two spray applications: |
| 1 Apply normal application, 5 to 10 minutes with
intermediate ventilation. |
|
|

|
| 2. Apply the spray coat according to the desired texture. |
|
|

|
| – |
Let air dry overnight at +20 °C (68 °F) or after 5 to 10
minutes final drying time 30 to 40 minutes at +60 °C (140 °F). |
|
|

|
| Personal Protective Equipment: |
| Note the safety data sheets |
| Wear the personal protective equipment during application |
|
|
|
Edition 04/2013
The following describes the repair paint system for matte
painted vehicles. Area of application: large surfaces/complete
painti ...
Edition 04/2013
Product Description/Objective
To achieve an optically flawless color shade transition in
the blended area or a ...
Other materials:
Wire Break with Single Repair Point
Repair point with single crimp connection
–
Free up wire intended for repair (approximately 20 cm to
both sides of repair point).
–
If required, remove wiring harness wrapping using a folding
...
Special Tools
Special tools and workshop equipment
required
Battery Charger -VAS5903-
Battery Tester -VAS6161-
...
Changing a blown fuse
Fig. 174 A blown fuse
Fig. 175 Removing or fitting a
fuse using the plastic pliers ①
First read and observe the introductory
information and safety warnings
Preparation
Switch off the ignition, the lights and all electrical consumers.
Open the appropriate fuse box .
Detecti ...
© 2016-2025 Copyright www.vwpolo.net

 Note
Note Repair Paint System for Matte Painted Vehicles
 Aqua Premium System, Touch-Up System for Two Layer Colors


