| Model,
type |
System |
Country |
Nm |
| All VW
Vehicles |
Direct
measurement |
all
countries |
4 Nm |
| Audi A1,
8X |
TPMS +
indirect measuring
→ Note |
USA and
rest of the world |
------ |
| Audi A3,
8P |
direct
measuring, Siemens
→ Note |
USA |
8 Nm |
| Audi A3,
8P |
TPMS +
indirect measuring
→ Note |
Rest of
the world |
------ |
| Audi A4,
8E |
direct
measuring, Beru
→ Note |
USA and
rest of the world |
4 Nm |
| Audi A4,
8K |
direct
measuring, Siemens
→ Note |
USA |
8 Nm |
| Audi A4,
8K |
TPMS +
indirect measuring
→ Note |
Rest of
the world |
------ |
| Audi A5,
8T |
direct
measuring, Siemens
→ Note |
USA |
8 Nm |
| Audi A5,
8T |
TPMS +
indirect measuring
→ Note |
Rest of
the world |
------ |
| Audi S5,
8T |
direct
measuring, Siemens
→ Note |
USA |
8 Nm |
| Audi S5,
8T |
TPMS +
indirect measuring
→ Note |
Rest of
the world |
------ |
| Audi A5,
S5 Cabrio 8F |
direct
measuring, Siemens
→ Note |
USA |
8 Nm |
| Audi A5,
S5 Cabrio 8F |
TPMS +
indirect measuring
→ Note |
Rest of
the world |
------ |
| Audi A6,
4B |
direct
measuring, Beru
→ Note |
USA and
rest of the world |
4 Nm |
| Audi A6,
4F |
direct
measuring, Beru
→ Note |
USA and
rest of the world |
4 Nm |
| Audi RS-6,
4F |
direct
measuring, Beru
→ Note |
USA and
rest of the world |
6 Nm |
| Audi A6,
4G |
TPMS +
indirect measuring
→ Note |
USA and
rest of the world |
------ |
| Audi A7,
4G |
TPMS +
indirect measuring
→ Note |
USA and
rest of the world |
------ |
| Audi A8,
4E |
direct
measuring, Beru
→ Note |
USA and
rest of the world |
4 Nm |
| Audi A8,
4H |
TPMS +
indirect measuring
→ Note |
USA and
rest of the world |
------ |
| Audi Q5,
8R |
direct
measuring, Siemens
→ Note |
USA |
8 Nm |
| Q7, 4L |
direct
measuring, Beru
→ Note |
USA and
rest of the world |
4 Nm |
| Audi Q7,
4L-12-Cylinder |
direct
measuring, Beru
→ Note |
USA and
rest of the world |
4 Nm |
| Audi TT,
8J |
direct
measuring, Siemens
→ Note |
USA |
8 Nm |
| Audi TT,
8J |
TPMS +
indirect measuring
→ Note |
Rest of
the world |
------ |
| Audi R8, 42 |
direct
measuring, Beru
→ Note |
USA and rest of
the world |
6 Nm |
Other materials:
A/C System and Refrigerant R134a Safety Precautions
A/C Service Station -VAS6007A- (and further or current A/C
Service Station)
Refer to the Workshop Equipment Catalog.
WARNING
It is recommended to have an eye-flushing bot ...
Variable luggage compartment floor
Fig. 86 A: variable luggage compartment
floor folded up and secured; B: expanding luggage compartment to front
Fig. 87 C: extending the luggage compartment
down; D: setting the maximum luggage space
First read and observe the introductory information
and safety warnings
The luggage compar ...
Ultrasound A/C Cleaner -VAS6189B
The Ultrasonic HVAC Cleaning System -VAS6189A- is placed in
the front passenger footwell and sprays Aero-Clean. Aero-Clean
neutralizes microbes and bacteria inside the heater and A/C
unit.
The unit comes with Operating Instructions.
...
 Note
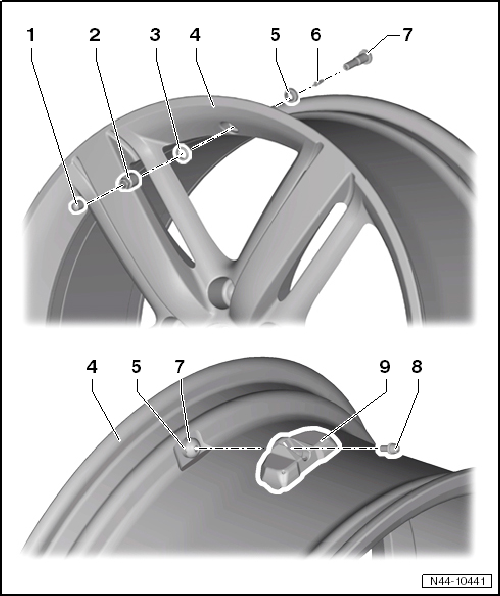
Note Overview - Tire Pressure Monitoring Sensor with Valve
