Volkswagen Polo Service & Repair Manual: Aqua Premium System, Touch-Up System for Three Layer Colors
| Product Description/Objective |
| To achieve an optically flawless color shade transition in
the blended area or adjacent parts, for example fender/door. |
| For plastic surfaces prime with Glazing Adhesion Promoter -ALO
822 000 10- and rework with elastified Two-part HS filler
(Two-Part Plastic Adhesive Filler -LKF 696 009 A2-/-LKF 696 040
A2-). |
|
|
|
| Pre-treatment of base surfaces: |
| – |
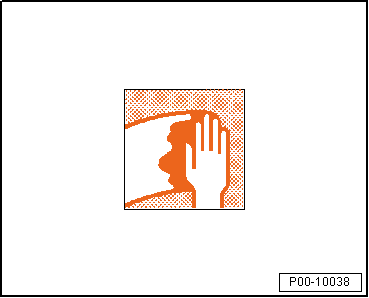
Clean the factory or old paint or two-part HS filler
thoroughly with Silicone Remover -LVM 020 000 A5- or Silicone
Remover, Long -LVM 020 100 A5-. |
|
|
|
| – |
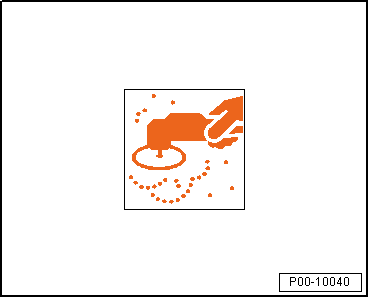
Sand the repair area with P500-P600 grit sandpaper or
wet-sand with water-resistant P800-1000 sandpaper. |
|
|
|
| – |
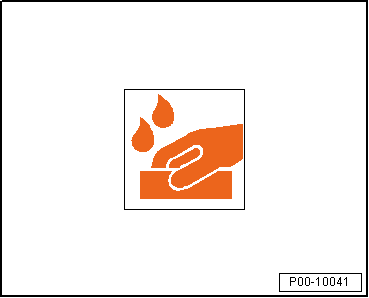
Sand the adjacent area (around the vehicle parts and the
repair area) thoroughly with P1000-3000 sandpaper, only wet
sand. |
 Note Note
| If beading, edges or grip recesses are present, use a
sanding pad beforehand. |
|
|
|
| – |
Clean the entire surface thoroughly with Silicone Remover -LVM
020 000 A5- to remove dust, sanding residue and other dirt. |
| – |
Wipe off any residual silicone remover with a lint-free
cloth, leaving no streaks. |
|
|

|
| – |
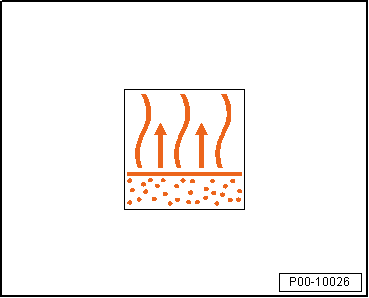
Allow wet-sanded surfaces and cleaned surfaces to dry
completely. |
| When using a dust extraction, use next generation towels
with an effective light adhesive formula to minimize the risk of
chemical or adhesive residue (for example, Dust Cloth
-VAS6177-). Refer to
→ Chapter „Dust Cloth -VAS6177-“. |
| Insulate sanded-through areas with Two-Part Wash Primer -LHV
043 000 A2- and then fill with Two-Part HS Performance Filler. |
| Test spraying on sheet metal is strongly recommended. |
|
|
|
| Touching-Up Three Layer Colors: |
| Adjusting the touch-up additives: |
| – |
Adjust the Touch-Up Additive For Aqua Premium -LVM 035 100
A3- with 10 % Aqua Premium Hardener -LVM 045 000 A1-. |
|
|
|
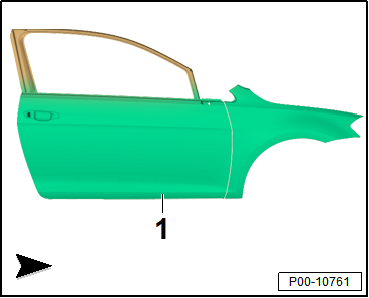
| Repair Process, Touch-up the Neighboring Surfaces (for
Example Color Matching Fender/Door) |
|
|
|
| – |
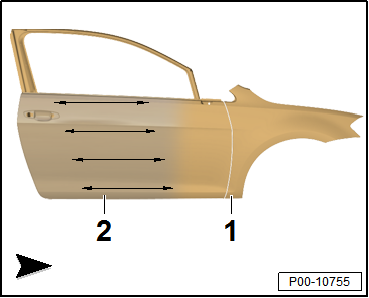
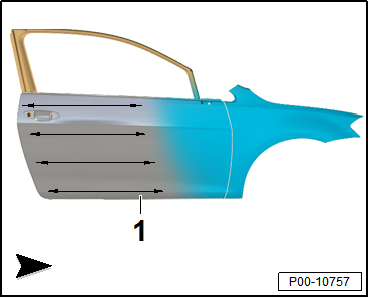
Apply 1-2 preliminary spray applications of the Touch-Up
Additive For Aqua Premium -LVM 035 100 A3--2-
in the blended area with normal spray pressure on the old
paint/filled surface -1-. |
 Note Note
| Pay attention that the blended area is large enough. |
|
|
|
| Adjusting the base color: |
|
|

|
| – |
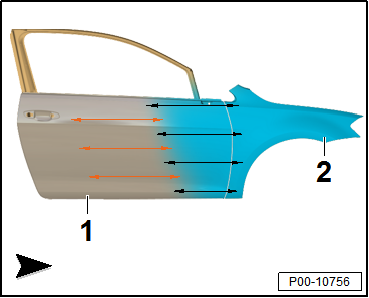
Apply the primary color shade, adjusted for the 5 % Aqua
Premium Hardener -LVM 045 000 A1- and 10 % Additive For Aqua
Premium -LVM 035 301 A3- for solid colors or 20 % Additive For
Aqua Premium -LVM 035 301 A3- for effect colors and adjusted
base colors -2-, onto the repair
area and on the bordering touch-up area up to the covering
capacity. |
| – |
While doing so the place the run-out area in the wet
Touch-Up Additive For Aqua Premium -LVM 035 100 A3--1-. |
 Note Note
| For large surfaces, at high temperatures as well as low
humidity an addition of up to 10 % Aquaplus Purified Water -LVW
010 000 A5- is possible. |
| Effect color, 45 to 60 minutes at +20 °C (68°F) |
| Solid colors, 90 to 120 minutes at +20 °C (68°F) |
|
|
|
| The ventilation time should take place assisted with blowing
devices at 20-40 °C (68°-104°F) until the surface becomes
completely matted. |
| Allow 5 to 10 minutes of intermediate drying time then 10 to
15 minute final drying time at 60° to 65 °C (140° to 149°F). Let
the base color shade cool off before applying the effect. |
| Ventilate until the surface becomes completely matted,
without blowing. |
|
|

|
| – |
After ventilating apply 1 to 2 preliminary spray
applications of the Touch-Up Additive For Aqua Premium -LVM 035
100 A3--1- in the blended area
without hardener. |
|
|
|
| Adjusting the effect color: |
| – |
The effect color is adjusted with 20 % Additive for Aqua
Premium - LVM 035 301 A3-. |
 Note Note
| For large surfaces, at high temperatures as well as low
humidity an addition of up to 10 % Aquaplus Purified Water -LVW
010 000 A5- is possible. |
|
|

|
| Step 1, Painting the Effect Color (from the Outside Inward) |
| – |
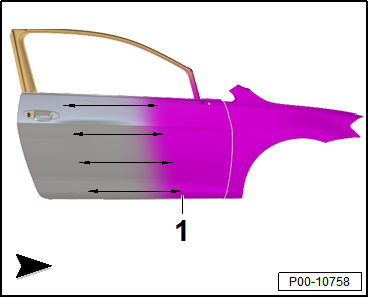
Apply the effect color from run-out area to the to the new
part -1-. This means it is applied
from the outside toward the inside (»wet-in-wet«)
in the Touch-Up Additive For Aqua Premium -LVM 035 100 A3-. |
| – |
Then if necessary apply the next effect color layer in the
direction of the new part. |
 Note Note
| For some effect colors 2 to 3 additional spray applications
are necessary to match the effect. |
|
|
|
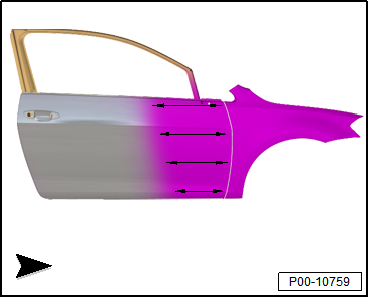
| Step 2, Painting the Effect Color (from the Outside Inward) |
|
|
|
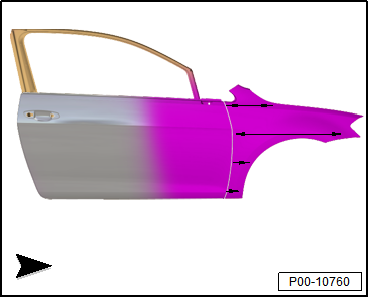
| Step 3, Painting the Effect Color (from the Outside Inward) |
|
|
|
| – |
After ventilating, apply a two-part HS clear coat
-1- over the entire repair surface. |
 Note Note
| Starting with the first spray application, it is recommended
to even out the subsequent repair area/base color spray
applications starting from the touch-up area that is farthest
out. For that reason, the subsequent spray applications should
always be remain inside the previous spray application, in order
to avoid visible contours/shadows. |
| While processing the Aqua premium water-based base paint,
the material flow (spray gun trigger) remains completely open. |
| The spraying pressure for the effect spray application can
vary between 1.5 and 2.0 bar depending on the size of the
object. |
| For additional notes to the drying times refer to the
technical application information. |
| Notes for Large Area Applications: |
| Use the Additive for Aqua Premium -LVM 035 301 A3- when
applying 3 coat effect colors. |
| The addition of up to 10 % Aquaplus Purified Water -LVW 010
000 A5- is recommended for large surfaces, high temperatures and
low humidity. |
| For efficient ventilating and drying, stationary blowing
devices or forced drying (for example heated drying) are
recommended. |
| The spray devices should be suitable for use with
water-soluble products; see manufacturer's information. |
| The Aqua Premium mixing paints can only be used within the
color tone formulas. |
| When processing individual mixing paints on their own, major
deviations from the information given in the application
instructions are possible. |
| Rinse before and after using with Aquaplus Purified Water -LVW
010 000 A5-. Then rinse with Nitrocellulose Thinner -LVE 856 000
A3-. |
| Collect liquid waste from water-soluble products and
separate from liquid waste from conventional products. When
mixing materials, disposal may no longer be possible, which is
difficult and costly. |
|
|
|
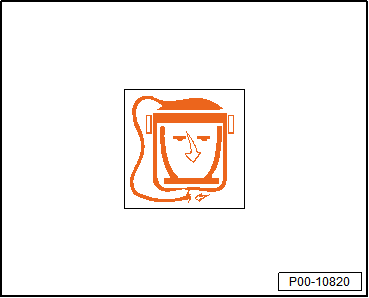
| Personal Protective Equipment: |
| Note the safety data sheets |
| Wear the personal protective equipment during application |
|
|
|
Edition 04/2013
Product Description/Objective
To achieve an optically flawless color shade transition in
the blended area or a ...
In order to achieve error-free design and multi-colored
paint applications using Aquaplus solid, metallic, pearlescent
base paint, pay attention to the important note ...
Other materials:
CAN Bus Wires, Repairing
Unshielded two-strand wiring -1-
and -2- with a cross section of
0.35 mm2 or 0.5 mm2
can be used as CAN bus wiring.
The color coding of CAN bus wires can be found in the
following table:
...
Indicator lamp
First read and observe the introductory information
and safety warnings
Lit up
Possible cause
Cruise control system (CCS) is controlling the speed.
Several warning and indicator lamps will light up briefly as a functional check
whe ...
Symbols in the roof
Symbol
Meaning
Interior lights and reading lights
Electric panorama sliding/tilting glass roof
...
© 2016-2025 Copyright www.vwpolo.net

 Note
Note Note
Note Note
Note Note
Note Note
Note Note
Note Aqua Premium System, Touch-Up System for Two Layer Colors
 Aquaplus Design and Multi-Color Paintwork


